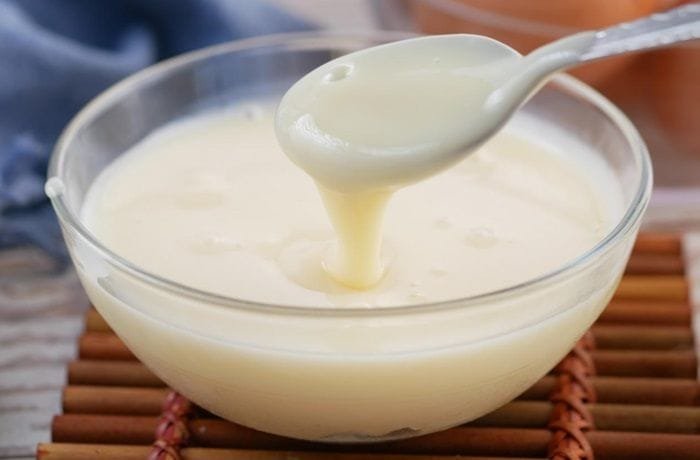
Homemade evaporated milk is whole milk simmered over very low heat for about 90 minutes until it reduces to roughly half its volume, optionally lightly sweetened, then cooled and stored in sterilized jars. It takes 10 minutes of preparation and 90 minutes of cooking, and makes 4 servings from 2 liters of milk.
A versatile, creamy ingredient for sauces and desserts, easy to make at home and free of unnecessary additives.
How to Make Evaporated Milk?
Evaporated milk is made by removing part of the water from whole milk, concentrating its flavor and texture. The milk is brought to a boil and then kept at the gentlest simmer until it has reduced to about half.
Nutritional Information
Each serving of evaporated milk, without added sugar, contains approximately 310 kcal, 24 g of carbohydrates, 16 g of fat (10 g of saturated fat), 16 g of protein, 0 g of fiber, 24 g of sugars, 50 mg of cholesterol, and 210 mg of sodium. These values are estimates and may vary depending on ingredients and portion sizes.
Homemade Evaporated Milk Recipe
Preparation: 10 minutes
Cooking: 90 minutes
Servings: 4
Ingredients
- 2 liters (8½ cups) of whole milk
- 4 tablespoons of sugar (optional)
- Sweetener (optional)

Instructions
- Pour the milk into a large nonstick pot and heat over medium heat. Add sugar if you like and stir until dissolved. Raise the heat and bring the milk to a boil without letting it boil over, then lower the heat to the minimum.
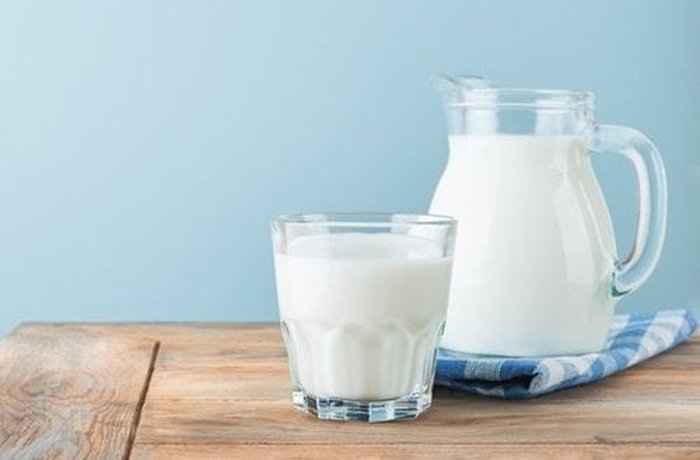
- Keep it at a bare simmer for about 90 minutes, stirring occasionally, until it reduces to about half. Remove from the heat and let cool to room temperature before storing in sterilized, airtight jars in the fridge.
Additional Tips
Evaporate, do not boil
Keep the heat at the absolute minimum. A rolling boil can break the proteins and separate the fat, leaving a watery texture.
Strain it
Pass the evaporated milk through a fine sieve while still hot to remove any skin or solid bits for a perfectly smooth texture.
Mark the level
Mark the starting level of the milk on a clean wooden stick so you can see when it has reduced by half.
| Original ingredient | Substitute | Ratio | Flavor note |
|---|---|---|---|
| Whole milk | Skim milk | 2 liters | Thinner, less creamy |
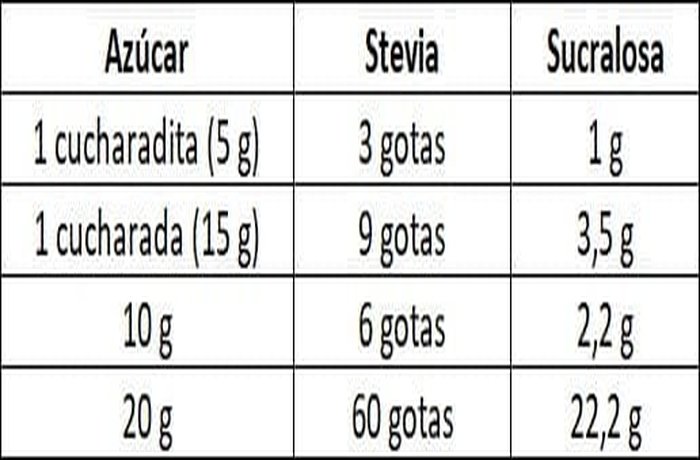
| Sugar | Sweetener | See the chart | Lower sugar |
| Unsweetened | With 4 tablespoons of sugar | Optional | For desserts |
| Store bought | Homemade | Same amount | No additives |
Frequently Asked Questions (FAQs)
1. What is the difference between evaporated and condensed milk?
Evaporated milk is milk with about 60% of its water removed. Condensed milk goes through a similar process but has a large amount of sugar added, around 45% of its final weight, which turns it into a thick milk syrup.
2. Can I use skim milk?
You can, but the result is disappointing. The creaminess comes from concentrating the milk solids and fat, so skim milk gives a thinner product that is less stable in sauces.
3. How do I know it is ready without weighing it?
Mark the starting level of the 2 liters with a clean stick or ruler. When the level drops to half, it is ready. The color also turns slightly creamy or ivory.
4. Why did my evaporated milk turn yellowish?
A beige or pale yellow color is normal, from light caramelization of the lactose during the 90 minutes. If it turns dark brown, the heat was too high.
History of Evaporated Milk
Evaporated milk was patented in 1884 by John B. Meyenberg as a long lasting, unsweetened alternative to fresh milk, bringing dairy nutrition to places without refrigeration.
Did You Know?
Removing water concentrates the calcium and protein of milk into half the volume, which makes evaporated milk more nutrient dense than regular milk.
How to adapt this recipe to a vegan or vegetarian version?
How to adapt this recipe to a gluten-free version?
How to adapt this recipe to a keto (ketogenic) version?
Recommended
- Homemade Heavy Cream Recipe
- Chilean Calugas Soft Caramels Recipe
- Raspberry Cheesecake Recipe
- Homemade Teriyaki Sauce Recipe