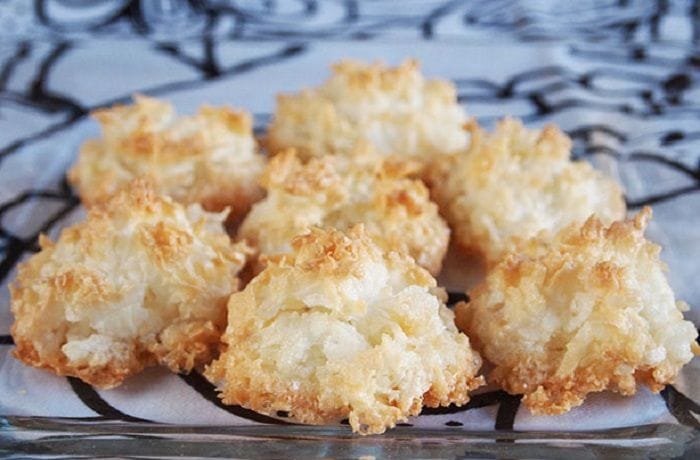
Chilean cocadas are small baked coconut sweets with a lineage that runs from colonial-era Angola through Spain and into Latin America. In Chile they became a fixture at end-of-year celebrations and festive tables, valued for the textural contrast that defines them: a dry, caramelized outer crust that gives way to a moist, chewy, intensely coconut interior. The recipe requires only six ingredients and under an hour of total time.
The structural key is the meringue base. Beating the egg whites to stiff peaks before folding in the coconut and cornstarch traps air in the batter, which expands during baking to lift the cookies and prevent them from turning dense. Handle the batter gently once the dry ingredients go in and the texture will take care of itself.
How to Make Chilean Cocadas?
Three steps: beat the egg whites to stiff peaks with the sugar and vanilla, fold in the coconut and cornstarch, shape into rounds and bake at 180°C until golden. The only technical moment is the egg whites — they need to reach stiff peaks before anything else goes in. Everything after that is straightforward.
Nutritional Information
Each serving of Chilean cocadas provides approximately 450 kcal, 70 g carbohydrates, 22 g total fat, 3 g protein, 4 g fiber, 55 g sugar, 0 mg cholesterol, and 70 mg sodium. Values are estimates and vary with ingredient brands and portion size.
Homemade Chilean Cocadas Recipe
Prep time: 30 minutes
Cook time: 15 minutes
Servings: 6
Ingredients
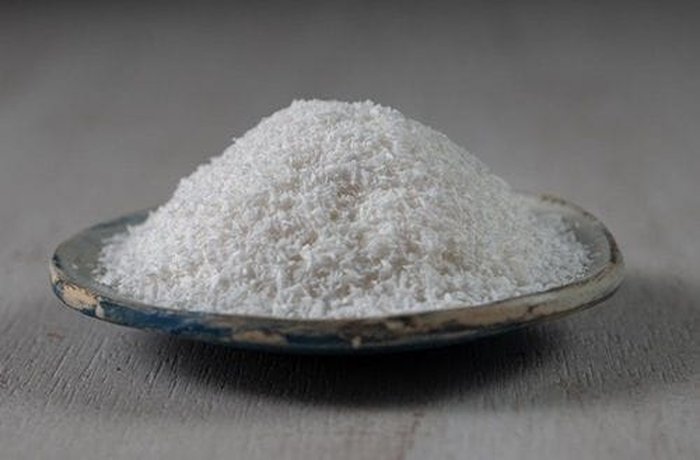
- 450 g (4 cups) shredded coconut
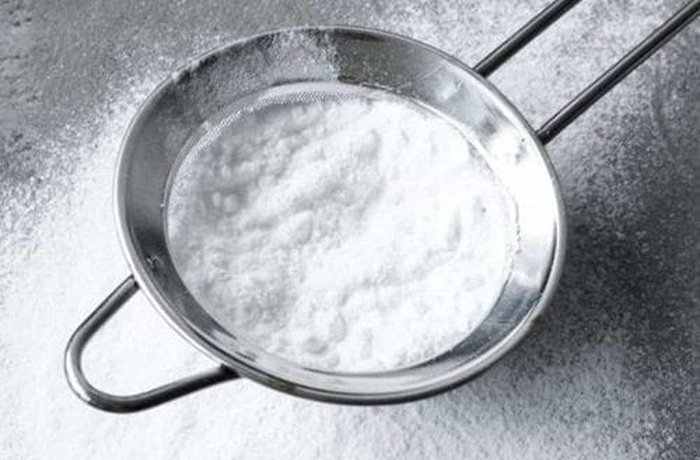
- 450 g (3½ cups) powdered sugar (azúcar flor)
- 4 egg whites
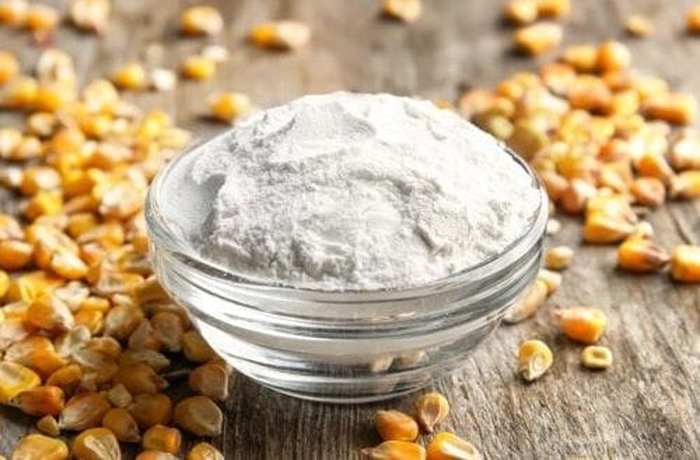
- 20 g (2 tablespoons) cornstarch
- ½ teaspoon vanilla extract
- 1 pinch of salt
Instructions
- In a clean, dry bowl, beat the egg whites to stiff peaks. Without stopping, add the powdered sugar gradually, then the pinch of salt and vanilla extract, and continue beating until the mixture is glossy and firm. Fold in the shredded coconut and cornstarch a little at a time until you have a uniform, firm batter.
- Preheat the oven to 180°C (356°F) for at least 10 minutes. With damp hands, divide the batter into small rounds approximately 3 cm in diameter. Arrange them on a buttered baking sheet or one lined with parchment paper, leaving a small gap between each one.
- Bake for 15 to 20 minutes until well golden. Remove from the oven and cool completely at room temperature before handling — they firm up as they cool. Serve on their own as a sweet snack or alongside a dessert. Store in an airtight container.
Additional Tips
Add honey for a deeper caramel finish
Stirring one tablespoon of honey into the batter before shaping intensifies the caramelization during baking and keeps the exterior golden rather than pale. It also adds a faint floral note that works well with the coconut.
Damp hands prevent sticking while shaping
The batter is sticky by nature. Wetting your hands lightly before rolling each portion keeps it from clinging and produces a smoother surface on the finished cookie. Re-wet your hands every two or three rounds.
Let them cool on the pan
Cocadas are fragile when they come out of the oven. Moving them while hot risks breaking the crust. Leave them on the baking sheet for at least 10 minutes before transferring — they release cleanly once the exterior has set.
Frequently Asked Questions (FAQs)
1. How do I make oat-based cocadas?
Replace the cornstarch with finely ground oat flour. Process rolled oats in a food processor until you get a fine powder, then use the same quantity as the cornstarch. The result is slightly more fibrous but equally delicious.
2. Why does the recipe call for cornstarch?
Cornstarch acts as a thickener and prevents the cocadas from becoming too moist from the natural oils in the coconut. Without it the cookies tend to spread and lose their shape during baking.
3. How do I know when the egg whites are ready?
They should form stiff peaks that do not fall when you invert the bowl. A reliable test: if you can turn the bowl completely upside down and the mixture stays in place, they are ready. Adding a pinch of salt or a few drops of lemon juice before beating helps stabilize them.
4. How do I stop cocadas from sticking to the pan?
Line the baking sheet with parchment paper dusted with a little flour, or use a silicone baking mat. If they do stick, slide a thin metal spatula underneath while they are still slightly warm — once fully cooled they release more easily.
5. How should I store cocadas?
Store in a glass jar with a tight-fitting lid (not plastic), separating layers with parchment paper. Drop one sugar cube into the jar to absorb ambient moisture. Kept this way, cocadas last up to two weeks at room temperature.
History and Origin of Cocadas
The earliest documented records of the cocada trace back to colonial Angola under Portuguese rule, from where the sweet traveled to South America through the Spanish colonial trade networks — a journey inseparable from the history of the transatlantic slave trade. Once in Latin America, coconut sweets spread across the continent and took on regional variations in every country. The Chilean cocada settled into its current form as a baked meringue cookie, drier and less syrupy than the Caribbean versions, and became associated specifically with end-of-year celebrations and wedding tables.
Did You Know?
Although coconut is now a common pantry ingredient across Chile, it was originally a luxury product that arrived by sea from tropical ports. For much of the colonial period, the cost of imported coconut made cocadas a high-status sweet reserved exclusively for end-of-year celebrations and upper-class weddings — the coconut itself was a signal of wealth as much as an ingredient.