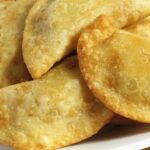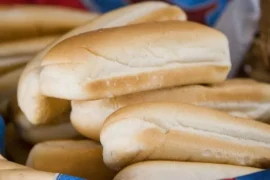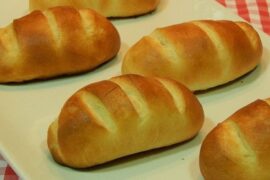
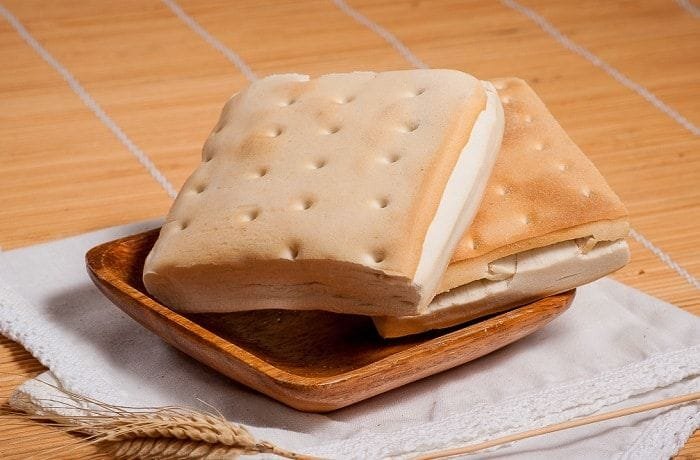
Pan coliza, also spelled colisa, is a Chilean bread known for its square shape, a surface pricked with a fork, and an incredibly soft, flaky crumb. While it shares roots with versions from neighboring countries, the Chilean pan coliza stands out for being fluffier and more buttery, best eaten warm with a little butter.
Kneading and proofing take about 90 minutes, with another 15 to 20 minutes for baking.
Nutritional Information
Each serving of pan coliza contains approximately 220 kcal, 41 g of carbohydrates, 4 g of fat, 6 g of protein, 2 g of fiber, 0 g of sugars, 10 mg of cholesterol, and 300 mg of sodium. (*)
(*) Values may vary depending on ingredients and portion sizes.
How to Make Chilean Pan Coliza?
Pan coliza belongs to the “enriched” bread category, since it starts from the basic bread ingredients (flour, salt, yeast) and adds butter and/or eggs, which give the crumb its signature softness.
Prep time: 160 minutes
Cook time: 25 minutes
Servings: 4 people
Ingredients
- 750 g wheat flour
- 450 ml warm water
- 70 g butter
- 7 g active dry yeast
- 1 large egg
- 1 tablespoon salt
Instructions
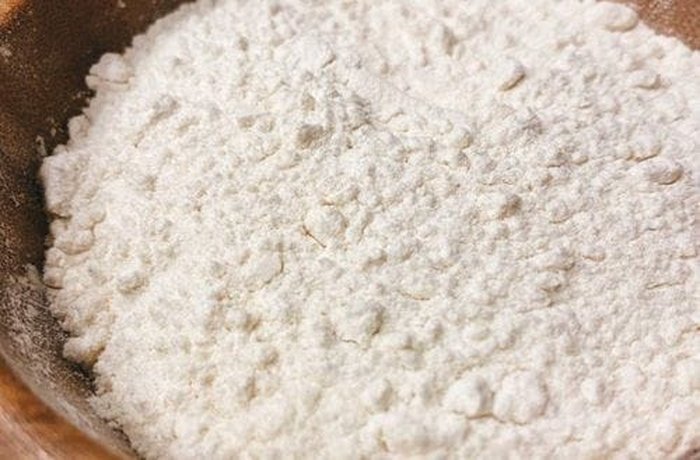
- Weigh out the dry ingredients. In a large bowl, sift the flour, add the yeast and salt, and mix, then work in the butter and 400 ml of the water and knead for about 10 to 15 minutes until the dough turns smooth and elastic.
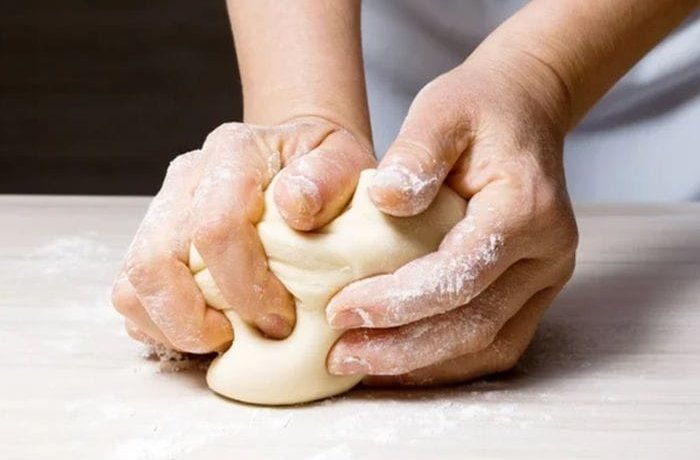
- Transfer the dough to an oiled bowl, cover with a kitchen towel, and let it rise for 60 minutes or until it doubles in size. Divide the dough in two and roll out each piece separately on a floured surface into a large rectangle.
- Fold the dough onto itself in 3 parts, like a letter fold. This fold is the secret to pan coliza’s signature layers. Roll it out gently until it’s about 1.5 cm thick.
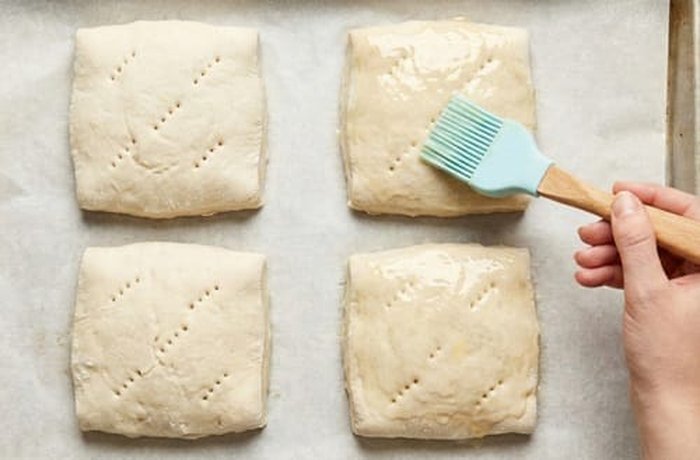
- Trim the edges with a knife to shape squares about 6 cm wide, rolling very gently. Arrange on a buttered baking sheet and let the dough rise again for another 60 minutes.
- Preheat the oven to 200°C (392°F), prick the surface with a fork, brush the pan coliza squares with beaten egg, and bake for 20 to 25 minutes or until golden brown. Serve warm or at room temperature, plain or with toppings.
Expert Baker Tips
How Long to Knead for Proper Gluten Development
Knead for at least 10 minutes to develop the gluten correctly. The dough is ready when it’s elastic, doesn’t stick to your hands, and stretches almost translucent without tearing.
What Temperature Should the Water Be?
The water should be warm, around 37°C, about body temperature on your wrist. Water that’s too hot kills the yeast, water that’s too cold leaves it inactive and the dough won’t rise.
How to Tell When the Dough Has Proofed Enough
The dough is ready to bake once it has doubled in size and, when pressed with a finger, the indentation springs back slowly. If it springs back instantly, it needs more time, if it doesn’t spring back at all, it has overproofed.
| Substitution | Use instead of | Effect |
|---|---|---|
| Fresh yeast, 21 g | Active dry yeast, 7 g | Same rise, dissolve in warm water first |
| Milk instead of water | Warm water | Softer crumb, richer flavor |
| Margarine | Butter | Less flavor, similar texture |
| Milk wash | Egg wash before baking | Softer, less shiny crust |
Frequently Asked Questions (FAQs)
1. What if the dough doesn’t rise or double in size?
The dough may not rise if the yeast isn’t active. Make sure your yeast hasn’t expired and that the water used to dissolve it is warm, not hot, since excess heat can kill it. The spot where you let it rise should also be warm and free of drafts.
2. Can I use fresh yeast instead of dry yeast?
Yes. The ratio is 1 gram of dry yeast for every 3 grams of fresh yeast. For this recipe, that means about 21 grams of fresh yeast to replace the 7 grams of dry yeast. Dissolve it in a little warm water first before adding it to the flour.
3. How do I store pan coliza so it doesn’t go stale?
To keep pan coliza fresh and soft, store it in an airtight container at room temperature, or wrap it in a kitchen towel and then a paper bag. Avoid plastic bags, since they trap moisture and make the bread go soggy.
4. What’s the difference between pan coliza and hallulla?
Although both are flat, fork-pricked breads, pan coliza is square and made with an enriched dough that includes more fat (butter) and sometimes egg, giving it a softer, more layered texture compared to traditional hallulla.
5. Why did my pan coliza turn out hard?
Pan coliza can turn out hard if the oven wasn’t hot enough (which dries it out) or if it didn’t get enough proofing time. Make sure the oven is properly preheated to 200°C and respect the 60 minutes of rest so the crumb turns out soft.
Pan Coliza vs Other Chilean Breads
| Bread | Crumb | Crust | Key difference |
|---|---|---|---|
| Coliza | Soft, fluffy, flaky | Thin and golden | More volume, visible inner layers |
| Hallulla | Dense and compact | Thick and toasted | Flatter, less airy crumb |
| Marraqueta | Open and airy | Crisp and rigid | Long fermentation, big air pockets |
| Sandwich bread | Uniform and soft | Barely any crust | Industrial, no artisanal process |
What Is Pan Coliza?
Pan coliza is a classic of Chilean bread baking, famous for its square shape, its fork-pricked surface, and its remarkably soft, flaky crumb.
History of Pan Coliza in Chile
Pan coliza has its origins in Bolivia, where it’s a drier, crunchier bread closer to a cracker. The Chilean version is an adaptation that, by adding more butter and a longer kneading process, turns into a softer bread with a fluffier crumb and a paler color.
Did You Know?
Chilean pan coliza is a kind of hybrid between hallulla and dobladita, pale in color, while the Bolivian or Peruvian versions have a crunchier, cracker-like texture and a much more toasted color.