Versión en Español: Receta de pan de leche casero
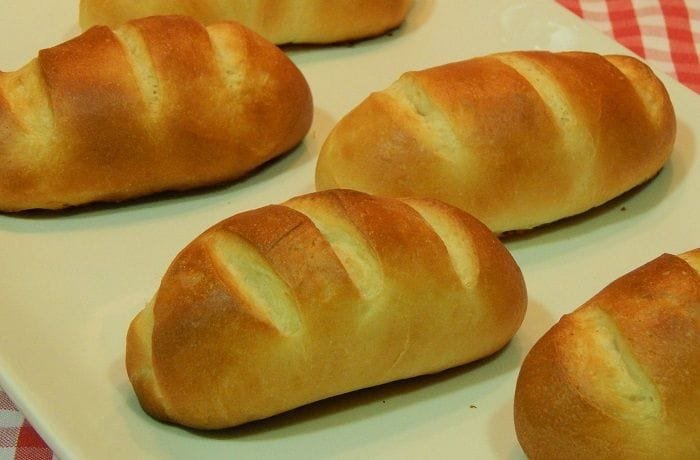
Chilean pan de leche is a soft, slightly sweet milk bread roll made with 500 g flour, whole milk, butter, eggs, and yeast. The dough rises for 90 minutes until doubled, is shaped into torpedo rolls of about 50 g each, rested 30 minutes more, brushed with an egg wash, scored, and baked at 180°C for 20 to 30 minutes. Total time is about 3 hours, most of it hands-off proofing.
The result is a fluffy, tender roll with a thin golden crust — a Chilean adaptation of the French brioche tradition, eaten at breakfast fresh from the oven with butter, manjar, or jam. Serves 4 people (about 10 rolls of 50 g each).
Nutritional Information
Each roll contains approximately 380 kcal, 10 g of protein, 13 g of total fat, 55 g of carbohydrates, 2 g of fiber, 8 g of sugars, and 290 mg of sodium. Values are estimates and vary with exact portion size and butter content.
How to Make Chilean Pan de Leche?
The critical steps are activating the yeast in warm (not hot) milk before adding it to the flour, and kneading the butter in gradually after the initial dough is formed. Both steps develop the gluten network that gives pan de leche its characteristic soft, elastic crumb.
Prep Time: 150 minutes (includes two proofing periods)
Cook Time: 30 minutes
Servings: 4 people (approx. 10 rolls)
Ingredients
- 500 g wheat flour, plus extra for dusting
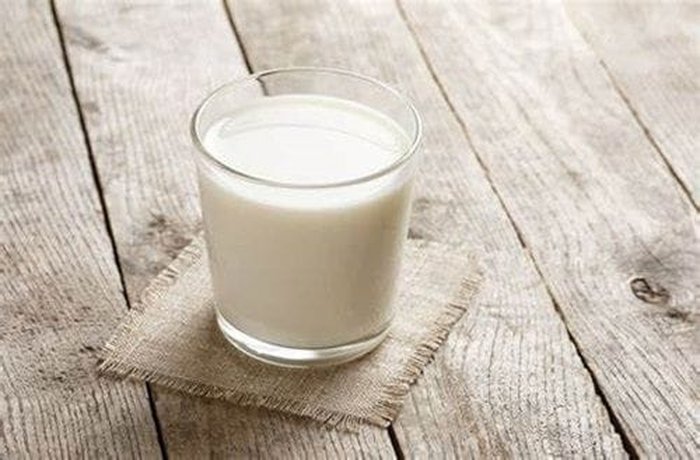
- 250 ml whole milk, warm (35–40°C)
- 50 g unsalted butter, softened at room temperature
- 50 g sugar
- 12 g fresh yeast (or 4 g dry active yeast)
- 4 g fine salt
- 2 eggs (plus 1 yolk + 15 ml milk for egg wash)
Instructions
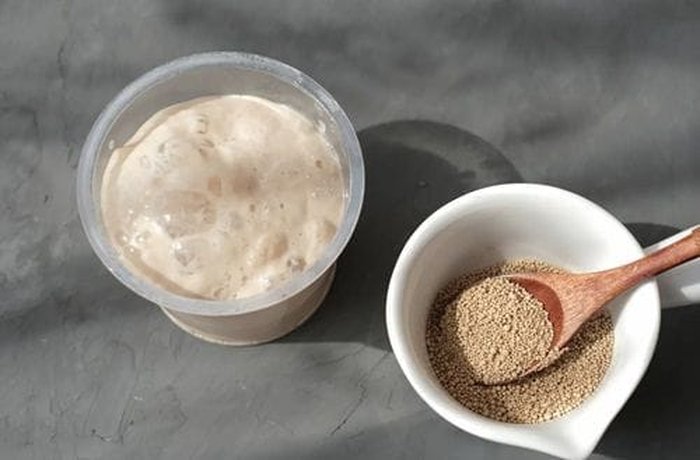
- In a medium bowl, dissolve the yeast in the warm milk with 10 g of sugar. Stir gently and leave in a warm spot for 5 to 10 minutes until foamy — this confirms the yeast is active. In a large bowl, sift the flour and add the yeast mixture, the 2 eggs, the remaining sugar, and the salt. Mix until everything comes together into a rough dough, then knead by hand for about 5 minutes until smooth and homogeneous.
- Add the softened butter in small pieces and knead for at least 10 minutes more, until the dough is smooth, elastic, and slightly tacky but does not stick to your hands. Shape into a ball, cover the bowl with a clean cloth, and leave to rest in a warm, draft-free place for about 90 minutes, or until the dough has doubled in size.
- Punch down the risen dough and divide into pieces of about 50 g each. Shape each piece into a smooth torpedo or oval roll. Place on a lightly floured or parchment-lined baking tray, spacing them 3 to 4 cm apart. Cover with a clean cloth and rest for 30 minutes. Preheat the oven to 180°C (356°F) for at least 10 minutes.
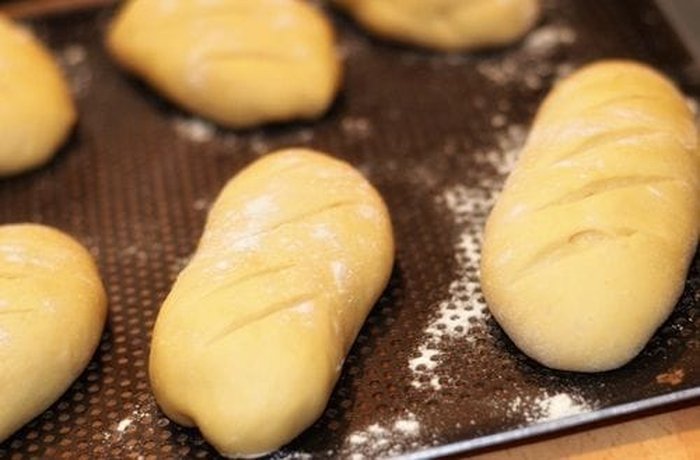
- Beat the egg yolk with the 15 ml of milk and brush each roll generously with the egg wash. Using a sharp knife or lame, make 2 to 3 shallow diagonal cuts across the top of each roll. Bake for 20 to 30 minutes until deeply golden. Remove from the oven and cool on a wire rack. Serve while still warm.
Expert Tips
Knead the Butter In for at Least 10 Minutes
Once the butter is incorporated, the dough will feel greasy and may seem to fall apart — this is normal. Keep kneading steadily and the gluten network will develop and pull the dough back together into a smooth, elastic mass. Stopping too early leaves an uneven crumb with dense patches. Ten minutes of hand kneading (or 6 to 7 minutes in a stand mixer with a dough hook on medium) is the minimum for a properly developed dough.
Use Whole Milk and Room-Temperature Eggs
Cold eggs slow the fermentation and can cause the butter to firm up, making it harder to knead in evenly. Room-temperature whole milk provides a more stable environment for yeast activity and contributes to a more uniform, tender crumb than reduced-fat alternatives.
How to Tell If the Dough Has Proofed Enough
After the 90-minute first proof, the dough should have doubled in volume. Press two floured fingers about 2 cm into the dough — if the indentation springs back slowly and partially, the dough is ready. If it springs back immediately, it needs more time. If the impression stays permanently, the dough has over-proofed and the rolls will be dense with a slightly sour flavor.
Ingredient Notes and Substitutions
| Ingredient | Notes / Substitution |
|---|---|
| Fresh yeast (12 g) | Replace with 4 g dry active yeast or 4 g instant yeast; instant yeast goes directly into the flour without dissolving first |
| Whole milk (250 ml) | Plant-based milks (oat, soy) work but produce a slightly less rich crumb — do not use low-fat milk |
| Unsalted butter (50 g) | Salted butter works — reduce the added salt to 2 g; margarine produces a similar texture but with less flavor |
| Sugar (50 g) | Brown sugar adds a slight caramel note; honey at the same weight produces a more aromatic, slightly denser roll |
Frequently Asked Questions (FAQs)
Can I use dry yeast instead of fresh yeast?
Yes. Replace the 12 g of fresh yeast with 4 g of dry active yeast (roughly 1 teaspoon). Dissolve the dry yeast in the warm milk with the sugar the same way and wait for it to foam. Instant yeast can be mixed directly into the flour without dissolving first.
Why did my pan de leche turn out dense and not fluffy?
The three most common causes are inactive yeast (milk too hot kills it — aim for 35–40°C), insufficient kneading after adding the butter (at least 10 minutes), and under-proofing (the dough must double in size before shaping).
How long do pan de leche rolls stay soft?
Pan de leche is best eaten the day it is baked. Store in an airtight bag at room temperature for up to 2 days. To refresh, wrap in a damp paper towel and microwave for 15 seconds, or warm in the oven at 150°C for 5 minutes.
Can I add fillings to pan de leche?
Yes. Common fillings include manjar (dulce de leche), cream cheese, or ham and cheese. Flatten each 50 g portion slightly, place about 1 tablespoon of filling in the center, seal well, and shape into a torpedo. The second rest and baking remain the same.
What is the difference between pan de leche and brioche?
Pan de leche is a Chilean adaptation of the French brioche tradition, simplified for home baking. Classic brioche uses a much higher ratio of butter (up to 50% of the flour weight) and more eggs. Pan de leche uses less of both, giving a softer but sturdier roll that holds up well to fillings and is easier to make by hand.
What Is Pan de Leche?
Pan de leche belongs to the family of enriched breads — doughs that include fats, eggs, and sugar in addition to the basic flour-water-yeast-salt formula. In Chile it is classified as a pan saborizado (flavored bread) and is a staple of the morning table, sold in panaderías nationwide. The roll’s characteristic torpedo shape and the diagonal scoring pattern on the crust are standard across Chilean bakeries. It is essentially the Chilean version of a brioche roll, though less buttery and more accessible as an everyday breakfast bread.
Did You Know?
Pan de leche is a direct descendant of the French brioche, a bread documented in France since the 15th century. French and Belgian immigrants brought enriched bread traditions to Chile during the 19th century, where they merged with local baking customs. The resulting pan de leche uses significantly less butter than a classic brioche — making it more economical to produce daily in Chilean homes and panaderías — while preserving the soft crumb and golden crust that define the original.