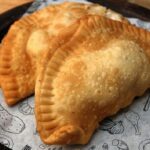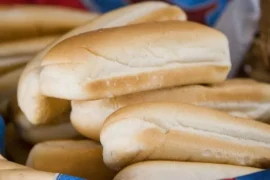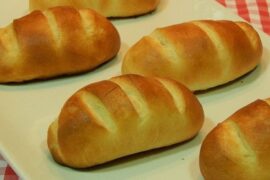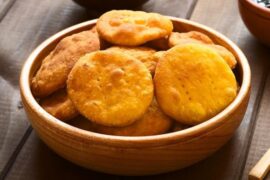

After marraqueta bread, Chilean hallullas are the country’s most popular everyday bread — round, flat rolls made with flour, warm milk, and vegetable shortening, holding nearly 20% of the national bread market. Ready in about 2.5 hours (including a 90-minute rise), this recipe yields 6 hallullas with the distinctive sobado layered texture.
Nutrition Facts
Each serving of homemade hallullas contains approximately 220 kcal, 38 g of carbohydrates, 8 g of fats, 6 g of proteins, 2 g of fiber, 2 g of sugars, 0 mg of cholesterol, and 150 mg of sodium.
How to Make Homemade Hallullas
Making homemade hallullas is a delicious combination of flour, milk, and vegetable shortening that must be integrated perfectly to give rise to a soft and well-structured bread, very versatile for almost any occasion.
Prep Time: 120 minutes
Cook Time: 25 minutes
Servings: 6
Ingredients
- 500 g of refined flour
- 150 ml of warm milk
- 100 ml of warm water
- 50 g of vegetable shortening
- 12 g of dry yeast
- 10 g of salt
- 3 g of sugar
Instructions
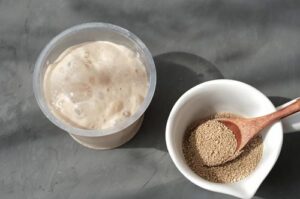
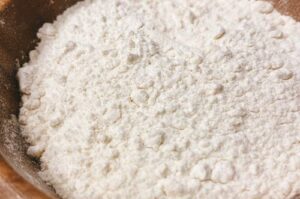
- In a bowl, dissolve the yeast in warm water, sugar, and a tablespoon of flour. Stir everything and let it rest until the mixture starts to form bubbles. Sift the flour into a large bowl, add the salt and the yeast mixture, and gradually add the milk to form a homogeneous dough, kneading for about 5 minutes with a bread machine or 10 minutes by hand.
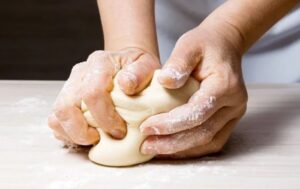
- Add the room temperature shortening and knead until fully incorporated into the mixture, kneading for another 10 minutes with a bread machine or 20 minutes by hand until obtaining a soft and smooth mixture. Cover with a clean kitchen towel and let it rest covered for 20 minutes.
- On a floured surface, place the dough and roll it out with a rolling pin until it reaches a thickness of about 1 centimeter, fold it in half, and roll it out again, repeating the process 3 more times, sprinkling with flour if necessary.
- Cut with a round mold about 10 cm in diameter and prick the resulting bread with a fork. Place the bread on a buttered baking sheet or one lined with silicone paper and let it rise in a warm place for 90 minutes or until it doubles in size.
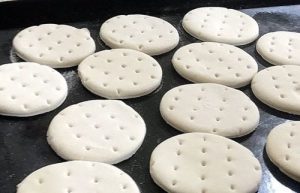
- Turn on and preheat the oven to 200°C (396°F) for at least 10 minutes. Bake the hallullas until golden, about 15 minutes, or until they have a hollow sound when touched with your fingers. Serve the hallullas hot or cold, accompanied by butter, jam, or whatever you prefer.
Whole Grain Hallullas
If you want to try a new variety of hallullas that are healthier and have a higher fiber content, try changing the white flour for whole wheat or multigrain flour when preparing the dough and adjust the liquid content if necessary.
Technical Keys for Perfect Hallullas
The Sobado Technique
The secret to hallullas is the rolling and folding process. Folding the dough and rolling it out several times to 1 cm creates subtle layers that give the bread its characteristic bite and dense-yet-soft crumb.
Shortening Temperature
Ensure vegetable shortening is at room temperature before adding it. Too cold and it won’t integrate smoothly; melted, it alters the dough’s hydration and structural integrity.
Functional Pricking
Pricking the dough with a fork prevents the bread from ballooning in the oven, ensuring it stays flat and bakes evenly throughout.
The Hollow Sound Test
To verify doneness without a thermometer, tap the bottom of the bread — a hollow sound confirms the interior structure has set correctly.
Chilean Breads – Comparison Guide
| Bread | Texture | Best For | Market Share |
|---|---|---|---|
| Marraqueta | Crispy crust, airy crumb | Completo, churrasco sandwiches | ~55% |
| Hallulla | Dense, layered, soft | Sandwiches with heavy fillings | ~20% |
| Pan de molde | Soft, uniform sliced | Toast, cold sandwiches | ~15% |
| Dobladita | Folded, dense | Cheese and cold cuts | Niche |
| Churrasco (pan) | Soft, slightly sweet | Italian churrasco sandwich | Niche |
Frequently Asked Questions (FAQ)
1. Why is my hallulla dough too tough?
This usually happens if the dough wasn’t kneaded long enough after adding the shortening. Kneading for at least 10–20 minutes is essential to develop the gluten while fully emulsifying the fats for a soft result.
2. Can I substitute vegetable shortening for butter?
Yes, technically you can use butter for a richer flavor. However, traditional Chilean hallullas use shortening to achieve that specific “clean” flavor and the traditional crumb structure that shortening provides.
3. What happens if I don’t let them rise for the full 90 minutes?
Hallullas are a dense bread, but they still need time to double in size. Shortening the rising time will result in a bread that is overly hard and “heavy” rather than soft and structured.
4. Why did my bread not turn golden?
Hallullas require a preheated oven at 200°C. If the temperature is too low, the bread will dry out before the sugars in the milk can caramelize to create that beautiful golden crust.
5. What is the best way to store them?
Because of the fat content, hallullas stay fresh longer than marraquetas. Store them in a cloth bag or a bread box. You can also freeze them for up to 2 months and toast them directly from the freezer.
Origin of the Hallulla bread
The name “hallulla” originates from the Hispano-Arabic word “hallún” (party bun) and the Hebrew “ḥallāh” (unleavened bread), and different varieties of it are also very popular in Bolivia and Ecuador.
Did You Know?
The “sobado” structure makes it the preferred bread for iconic Chilean sandwiches, as it can perfectly support heavy fillings like steak or mashed avocado without falling apart.